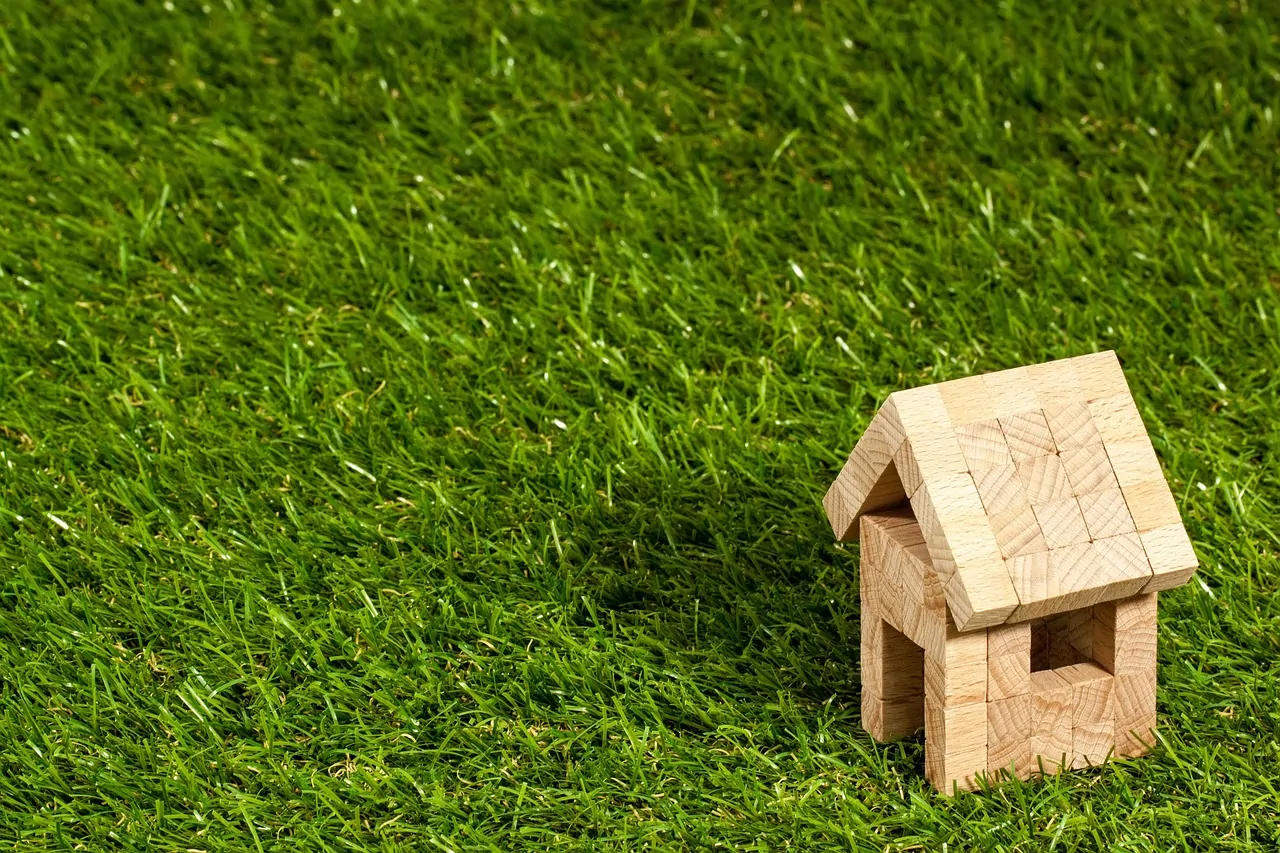
A Step-by-Step Guide to Turf Installation for Homeowners
Installing turf is one of the most effective ways to achieve a lush, green lawn with minimal upkeep. Whether you’re tired of patchy grass or want to save water, turf installation is a practical and attractive solution. In this guide, we’ll walk you through the benefits, tools, preparation, installation steps, and maintenance tips you need to know to successfully install turf in your backyard.
Why Install Turf? The Benefits
Before diving into the process, it’s important to understand why turf is a great choice for your home:
- Low Maintenance: No mowing, watering, or fertilizing required.
- Cost-Effective Long Term: Reduces water and maintenance bills.
- Year-Round Aesthetic: Always green and manicured, regardless of season.
- Environmentally Friendly: Cuts down on pesticide and herbicide use.
- Pet and Kid Friendly: Durable and soft for play areas.
Tools and Materials You’ll Need
To make your installation go smoothly, gather these tools and materials in advance:
Tools:
- Shovel or turf cutter
- Rake
- Wheelbarrow
- Plate compactor or hand tamper
- Utility knife
- Push broom
- Garden hose with spray nozzle
Materials:
- Turf rolls (synthetic grass)
- Weed barrier fabric
- Class II road base or crushed stone
- Sharp sand or decomposed granite (for leveling)
- Turf adhesive or turf nails/staples
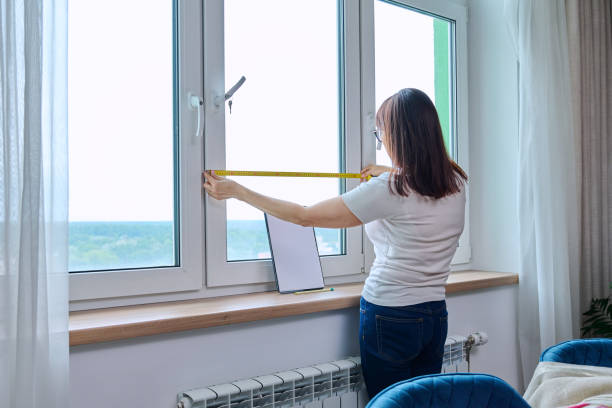
Step 1: Planning and Measuring
Estimated Time: 1-2 hours
Difficulty Level: Easy
- Measure the area where you want to install turf.
- Sketch out a simple diagram and calculate the square footage.
- Order turf with at least 10% extra for trimming and fitting.
Step 2: Site Preparation
Estimated Time: 1-2 days
Difficulty Level: Moderate
Proper site preparation ensures a flat, long-lasting surface.
- Remove Existing Grass: Use a turf cutter or shovel to remove grass and 3-4 inches of topsoil.
- Eliminate Weeds: Lay down a weed barrier to prevent growth beneath the turf.
- Add Base Material: Spread 2-3 inches of crushed stone or Class II road base.
- Compact the Base: Use a plate compactor or tamper to ensure a firm foundation.
- Level the Surface: Add sharp sand or decomposed granite and smooth it out.
Pro Tip: Ensure a 1-2% grade for drainage away from your home.
Step 3: Laying the Turf
Estimated Time: 4-6 hours
Difficulty Level: Moderate to Challenging
- Roll Out the Turf: Start at the longest straight edge and unroll turf pieces.
- Position and Align: Make sure the turf blades are facing the same direction.
- Trim to Fit: Use a utility knife to trim edges around curves, corners, or walkways.
- Secure the Turf: Use turf nails or staples every 6 inches around the perimeter and every 12 inches in the center.
- Join Seams: Use turf tape or adhesive to connect multiple rolls without visible lines.
Remember to stagger the joints to create a seamless look.
Step 4: Brushing and Watering Infill
Estimated Time: 1-2 hours
Difficulty Level: Easy
- Use a push broom to brush the turf blades upright.
- Apply sand or rubber infill (if needed) to weigh down the turf and keep blades standing.
- Lightly water the area to settle the infill.
Step 5: Post-Installation Care
Turf is low maintenance, but a few steps will keep it looking new:
Weekly Tasks:
- Remove debris like leaves or branches.
- Brush blades to prevent matting.
Monthly Tasks:
- Rinse with water to remove dust and pet waste.
- Check seams and edges for lifting or wear.
For the best quality and region-specific turf advice, consider working with professionals like Kansas City Turf. Their products and support are tailored for Midwest climates and durable backyard transformations.
Common Turf Installation Mistakes to Avoid
Avoid these frequent missteps for a successful installation:
- Skipping Base Prep: Poor drainage and uneven surfaces will ruin your turf.
- Wrong Blade Direction: Blades should all face the same direction for a uniform look.
- Loose Seams: Poorly connected rolls will become visible over time.
- Not Securing the Edges: Unsecured turf will lift, wrinkle, or blow away in strong wind.
- Overlooking Infill: Infill is crucial for stability and appearance.
Final Thoughts
Installing turf can completely transform your outdoor space into a lush, usable, and maintenance-free environment. With the right preparation, tools, and technique, homeowners can complete the project in a weekend. If you’re not confident doing it solo, consult a local expert or trusted provider like Kansas City Turf.
By following this comprehensive step-by-step guide, you’ll ensure a smooth installation process and enjoy a beautiful, green backyard for years to come.